I want to show you how to install Mac OS X Mavericks on AMD FX 6100 Bulldozer.

These are my specs
AMD FX 6100 3.3 Ghz/ Asus M5A88-M / 8 GB Corsair / ATI Radeon HD 6770 1 GB DDR5 / 1 TB Hitachi ( Windows 8.1 Pro) , 500 GB Seagate ( Mac OS X Mavericks) / Cooler Master 550 W PSU / NZXT Lexa S Chasis.
So here are the things that you would need
1. A separate HDD to install Mavericks ( as per Niresh you can use a partition in the same HDD to install, however i have not tried that).
2. Pen drive 8 GB or more.
3. Patience :).
Go to niresh.co and download ( click to redirect to his website) the Mac OS X Mavericks 10.9 image ( he has it uploaded in torrent), this image is modified by him in order to get the operating system installed on an intel / AMD machines.


once you download you will find OSX-Mavricks.dmg and guidance file (pdf), you will have to have to download the Win32Diskimager-0.9.5 -install.exe to make a bootable usb of Niresh’s OS X in Windows.

Open and install Win32Diskimager ( on Windows 8 you might get a compatibility issue , just right click and under compatibility tab and run compatibility troubleshooter it should fix the problem.
Insert your pen drive and click on the small folder in win32diskimager and select your Mavericks.dmg file, make sure you select *.* just beside the file type.

Click on Write, it will create the bootable USB installer.
Next plug in your USB and restart your computer. Go to your BIOS settings, and change the SATA mode to AHCI this is very important else your hackintosh will not work.

And make the first boot device as removable disk (USB)
you should successfully get into the USB installer make sure you select Niresh Mavericks in this screen and type any of the below boot flags ( Particularly last one for FX processors)

Now type amd -v ( if you have amd 32 bit processors or amd 32 bit APU)
or
amd64 -v ( if you have amd 64 bit processors or amd 64 bit APU)
or ( this is what we want people having FX processors)
amdfx -v ( for all FX processors )

these boot flags will use the modified amd kernel in verbose mode ( V = for verbose mode to detect any kernel panics so that we can fix it)
you should get black screen with scrolling white characters it will take some time so do not panic.
You should see the installer in few minutes.

Select the language and click continue, next go to menu bar and select Utilities – again select Disk Utility.

Click Now select the HDD which you want to use for installing OS X and click on Partition and click on Options just beside + and – Select GUID partition scheme and click OK
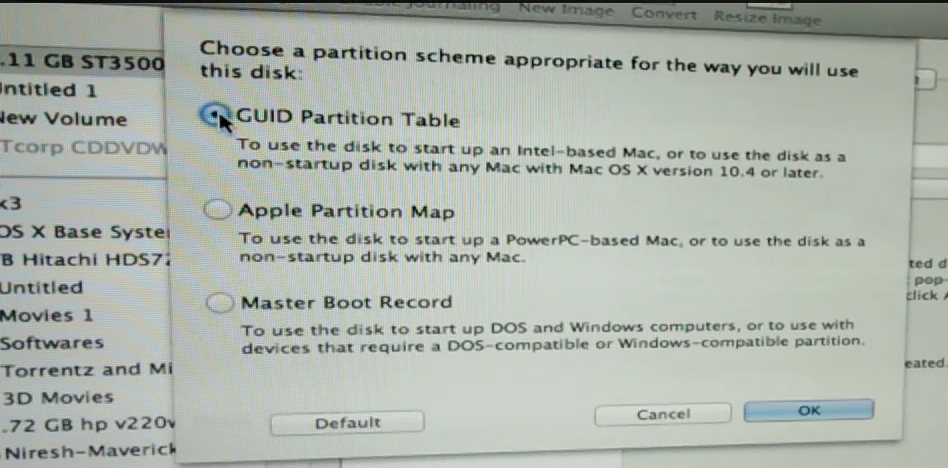
Partition however you want make sure you give at least 60 GB to OS X. After partitioning click on the Erase tab and select the Mac OS X partition that you have created and format it using Mac OS Extended Journaled.

Close the Disk Utility by clicking on the red x mark on top left corner of the application.
Click Continue and Agree the license agreement in the next screen and in the next screen before clicking on Install you must click onCustomize.

Leave all the selections default as all the required stuffs would be selected, just go to the Laptop Drivers section and uncheck the Trackpad, PS2, Mouse support.

Click OK
Select the Drive where you want to install OS X and click Install it will take 30 mins to install once done, remove your USB drive and Reboot.
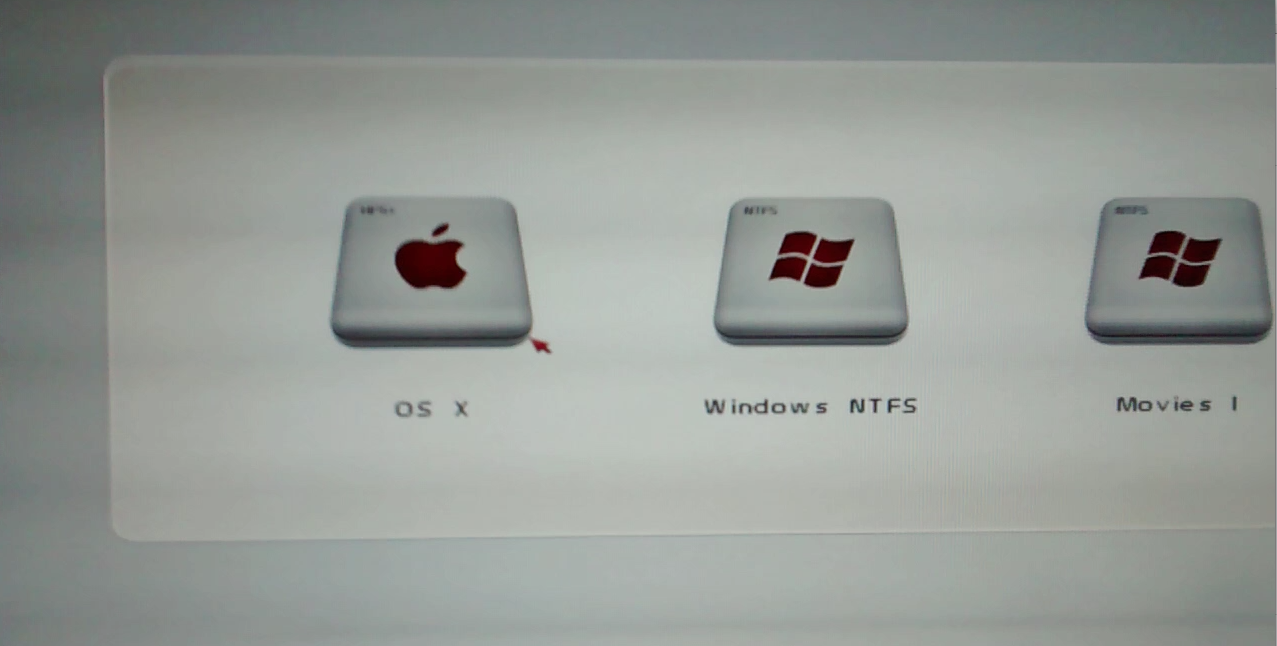
If you have done exactly how i have mentioned, you should see the Chameleon boot loader screen,
…………we are not done yet. If you see Boot 0 and your chameleon vanishes right after it displays Boot 0 keep pressing Up arrow key in the keyboard it will show the chameleon boot loader.
Make sure the pointer is pointing at the OS X drive.
Now type ( the letters will appear on the bottom of the screen)
– x GraphicsEnabler=NO ( these are case sensitive type as shown)
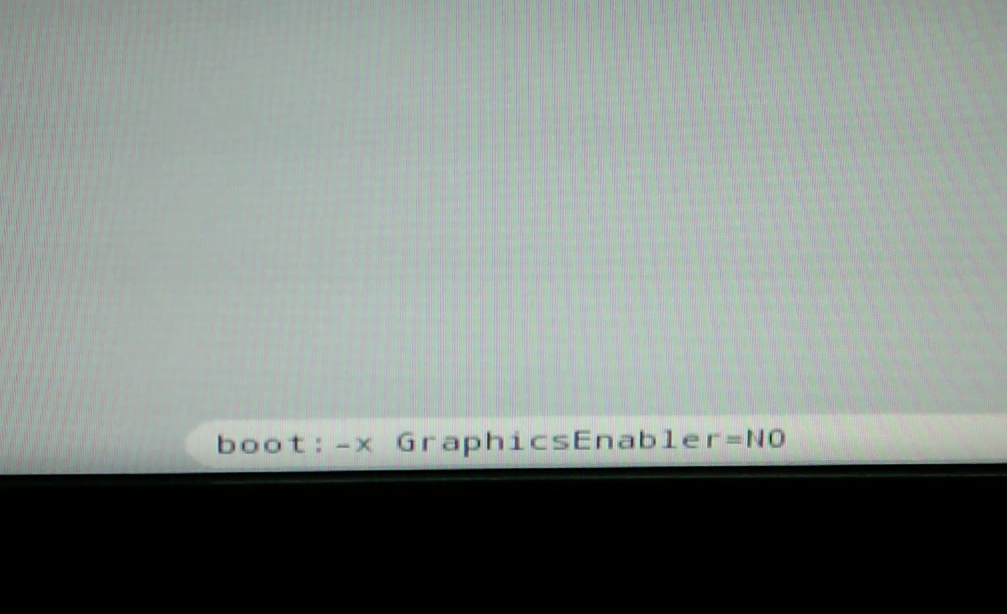
-x is used to boot in the safe mode with disabled Graphics ( so we use Graphics enabler =no command in order to avoid any conflict with the Graphics Drivers(kexts))
It will show you the gray apple logo eventually It should bring you to the Setup screen.

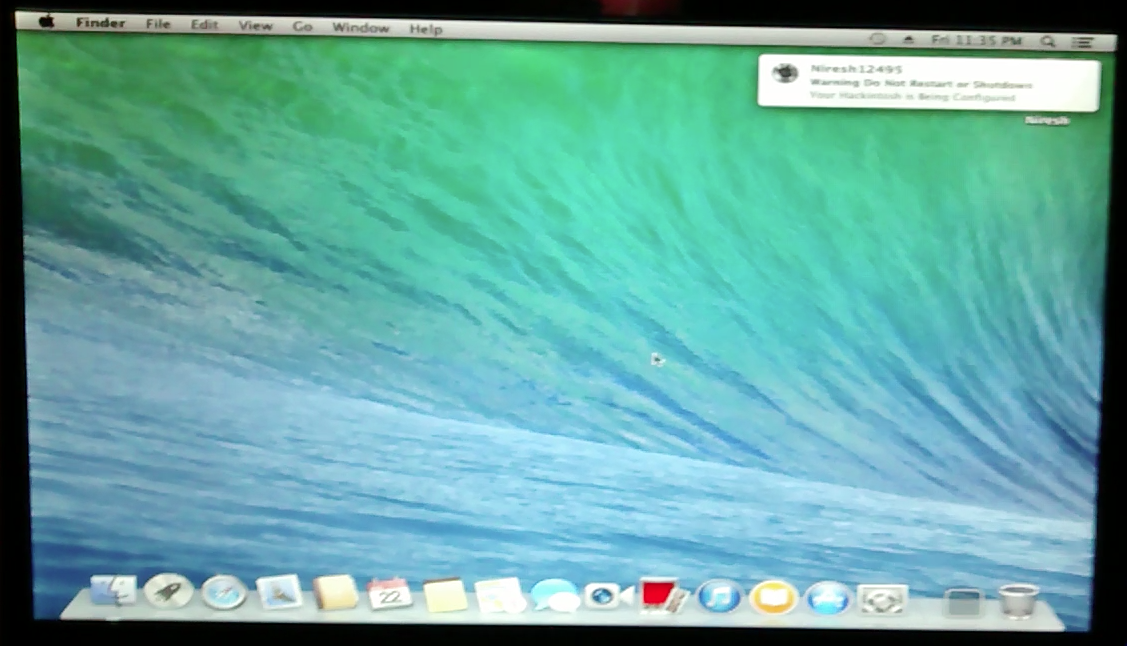
Complete the Setup and Viola you should have the Mavericks Desktop. Important this is that you do not restart or shutdown until the OS configures, you will get a pop up saying the computer is configured successfully.
Your Ethernet should be working good. However now we will fix some other issues.
Once the configuration completes you must reboot and in Chameleon boot loader now you can type using the boot flags -v GraphicsEnabler=NO .
if your screen freezes at “Missing Bluetooth Controller Transport” it is because of the graphics kexts to solve this do as below.
Boot with -s. When you see the prompt “root:”:
Type: mount -uw /
Type: cd /System/Library/Extensions
Type: mkdir intel_back
Type: mv AppleIntelHD* AppleIntelF* intel_back/
Type: touch ../Extensions
this was the fix posted on http://quickwebgems….controller.html
thanks for the uploader
If this doesn’t solve your problem use the above commands and replace the 4th line with the below
mv GEForce* intel_back/
rest should remain same ( we are just moving the GEForce kexts to the intel_back directory)
Boot using the same boot flag -v GraphicsEnabler=NO
To fix the Graphics Issues just download these files CLICK (modified for Radeon HD 6770)and install these using Kext Wizard which is installed by the Niresh’s distro by default.Just type Kext in the spotlight or it will be in Applications
Extract the files – Open Kext Wizard – Go to installation tab browse and select these files and click install.

These will replace your existing Radeon Kexts, now you should have full QE IC.
Now reboot and do the below to avoid any more errors.
AMD Users May Have Problem With AppleIntelCPUPowerManagement.kext
to Avoid The Problem
Backup The Related Kexts
Reboot Using “-s” Kernel Flag (Without The Quotes)
type “fsck -fy” press enter (Without The Quotes)
type “mount -uw /” press enter (Without The Quotes)
type “fsck -fy” press enter (Without The Quotes)
type “mount -uw /” press enter (Without The Quotes)
type “mv /System/Library/Extensions/AppleIntelCPU* /” press enter (Without The Quotes)
type “reboot” press enter (Without The Quotes)
as mentioned by Niresh himself.
Now you should have fully working Graphics.

Unfortunately my audio is still not working, i will find a fix and post is ASAP.
Audio is fixed
You will just have to ensure to select the Line out type in the System preferences – Sound.

Complete video tutorial of my installation can be found below.
